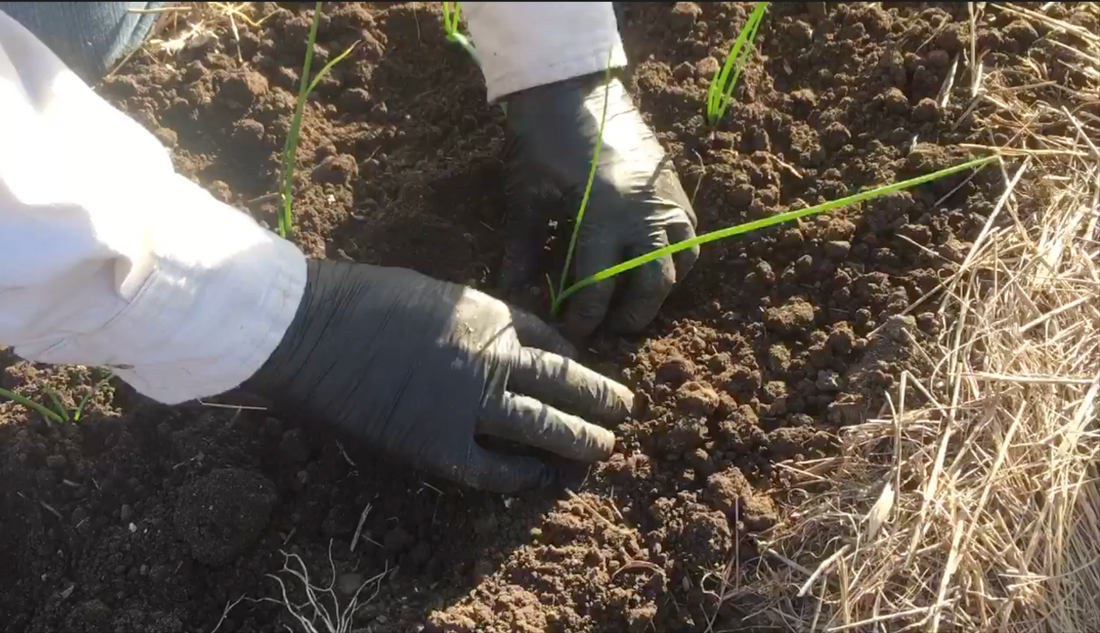
Transplanting Dakota Tears onion seedlings
Share

TRANSPLANTING ONIONS
Our onions are transplanted and growing beautifully! We usually transplant onions in mid-May; you can do it earlier, as onions are cold tolerant. To ensure healthy bulbs, rotate the crop yearly. You can watch our companion video on our YouTube channel!
We transplant late in the day, usually after 5 pm, avoiding the heat of the day to reduce transplant shock. Onions need soil that is high in organic matter, fertile, loose and well drained, with no standing water after a rain. If your soil fertility and organic matter is low, apply at least two inches of composted soil and work it in to a depth of eight inches. Work the row to create a nice loose seedbed free of dirt lumps and rocks.
We start our onions using what we call the ‘milk carton’ method, growing onion seedlings much like wheat grass. We tip the milk cartons on their side with the top side panel removed and the spout firmly stapled. We poke holes in the bottom side for drainage and ill the carton 2/3 full with your soil mix. We sprinkle the onion seed in pretty liberally in order to select against plants prone to damping off and to select for seedling vigor. We cover with a thin layer (~1/8-1/4 inch) of soil mix. Again, gently pat to firm, water thoroughly and evenly, and label your carton with the variety name and date planted.
For transplanting we undo the spout and open up the end, laying it flat. Gently scoop your hand underneath the soil and gently separate a small section, removing it from the carton. Try to minimize touching the roots as much as possible. Handling the plants by the leaves, do not squeeze the stems, gently tug and loosen the soil to separate the roots of individual plants. Lay out about a half a dozen seedlings at a time and transplant to minimize the roots’ exposure to light or work with a partner to separate and transplant as you go.
Onion seedlings do not have much of an enlargement at the base of the stem. Look for the point where they change from the white base above the roots to the green stem. You want that white base submerged, so you have about a half inch to an inch of soil above where the root starts. Make sure to displace the soil deep enough to be able to accommodate the roots. Placing the base of the seedling just deep enough to cover the white stem end so that no white is showing. Actual depth of the hole will of course depend on the length of the roots. Make sure the roots are all in the ground and covered; if the roots curl some when transplanting, they will water in and anchor downward. Make sure not to cover the growing point— where the leaves split and the new leaves grow out of the center.
SPACING AND WATERING
We transplant the seedlings 4 to 6 inches apart in a double row spaced about 6 inches between rows. Water the seedlings in immediately after planting, using approximately 2/3 cup -1 cup of water per seedling. Do not worry if the seedlings lay on the ground and look like they are wilted. They will revive overnight. Water them again first thing in the morning before the heat of the day.
We hope you are having a successful start to your growing season!
Our best to you,
Theresa & Dan
